Quick Start Guide
Along with the in-game tutorials, these guides are here to help you navigate Warframe.
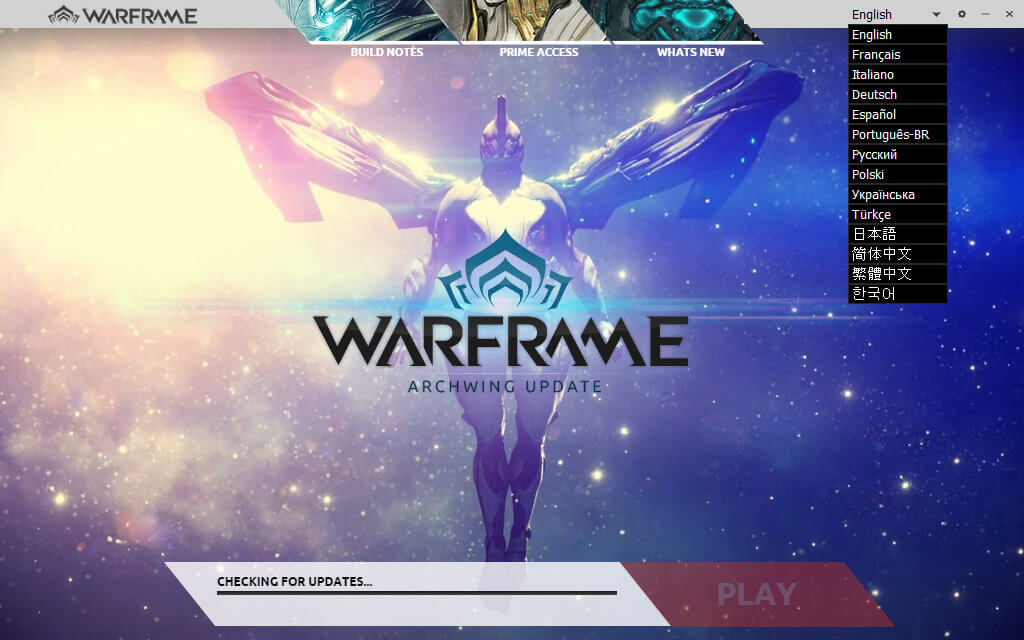
Selecting your Language
When you first launch Warframe, it will check for updates using the launcher. In this launcher, you can specify the language you would like Warframe to run in by opening the language drop-down list in the top-right corner. Selecting the correct option will make all text in the game localized to your native language!
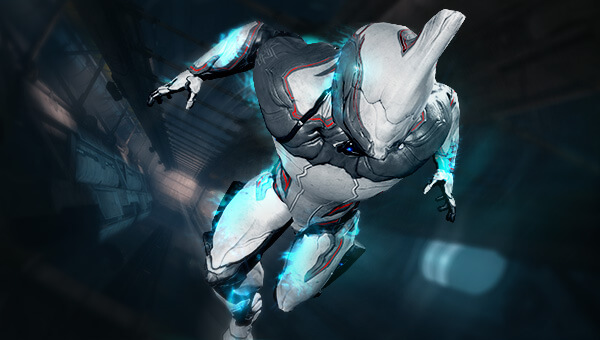
Choosing your Warframe
After the introductory cinematic, you’ll be given a choice of three Warframes. Your Warframe functions as a kind of exo-armor suit that protects you from enemies and provides you with unique powers. The Warframe you choose will greatly impact your first missions, so choose wisely! Not to worry, this selection is not final. In time you will be able to construct or purchase additional Warframes to master!
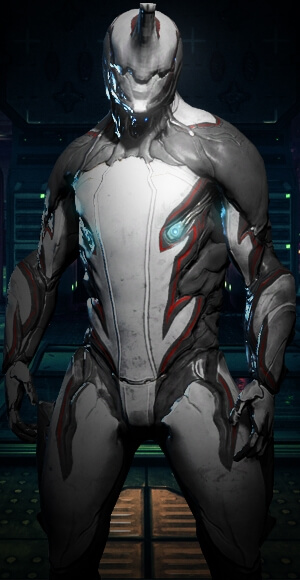
Excalibur
Excalibur epitomizes the warrior spirit. His master swordsmanship deals high damage. He is the embodiment of martial excellence.
Volt
Electricity flows through Volt. His attacks deal high damage. Enemies will be shocked.
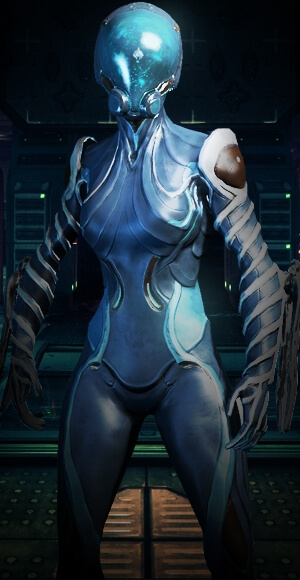
Mag
Take down your enemies with magnetic force. Mag alters magnetic fields to provide crowd control and strip enemy defenses. Few can resist her attraction or her repulsion.
These robust Warframes will serve you well during your exploits and are capable of completing any mission. Remember you can still choose other Warframes to test out other play-styles and experiment with new powers.
Your First Mission
Your first mission will teach you several basic mechanics of the game, as well as have you choose your initial equipment loadout. Like your Warframe selection, these choices are not permanent; there are over a hundred different weapons for you to find and add to your arsenal!
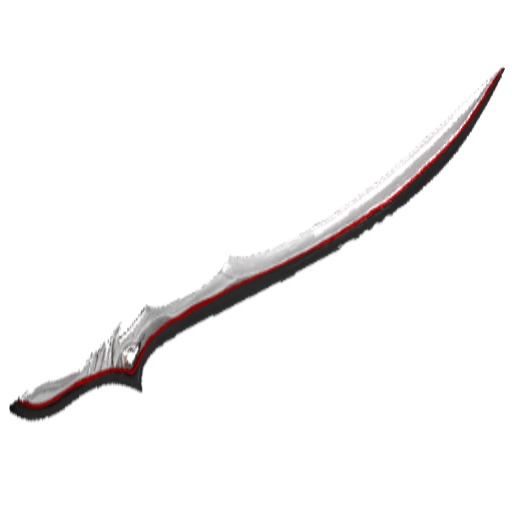
Choosing a Melee Weapon
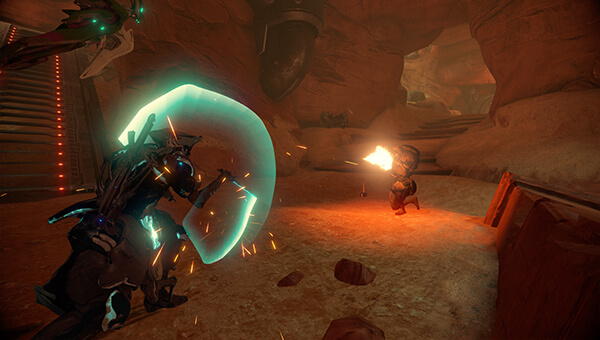
Your melee weapons allow you to perform special stealth attacks on enemies that are unaware of your presence. If you are able to perform a stealth attack on an enemy, a special context action will be available (Default: E)(Default: R1)(Default: Right Bumper). Stealth attacks will deal massive damage, killing weaker enemies outright. You may find missions easier to complete by eliminating enemies stealthily before they can raise the alarm.
The Skana is a balanced weapon that has a high attack speed.
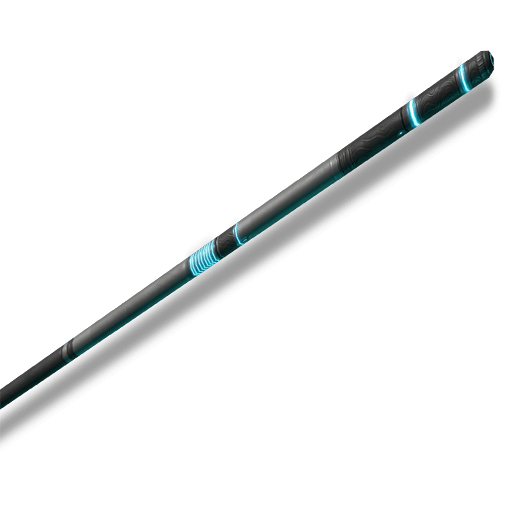
The Bo has slow, sweeping attacks that can easily hit multiple enemies at once.
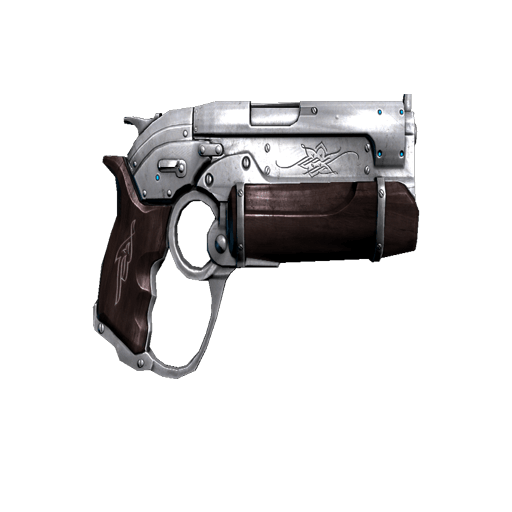
Choosing a Secondary Weapon
Your sidearm may not be as strong as your primary loadout weapon, but has a separate ammo reserve, and can be used while you're in a near-death bleedout state. Properly modded, your secondary weapon may become the deadliest weapon at your disposal!
The Lato is a pistol that deals average damage but is highly accurate thanks to its low recoil.
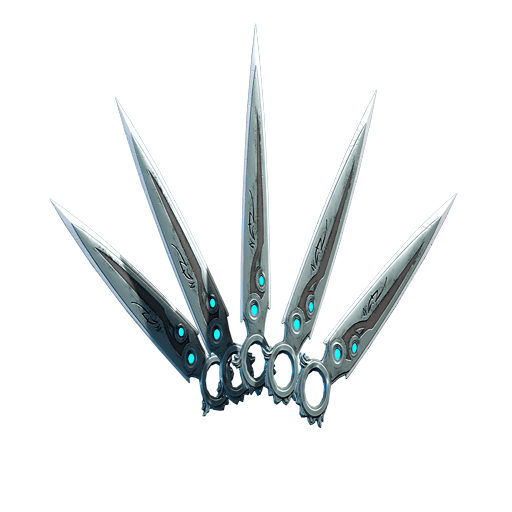
The silent Kunai travel in an arc when thrown, allowing you to hit enemies that are behind cover without raising an alarm.
Choosing a Primary Weapon
Your final selection will be your primary weapon. With a primary weapon, your loadout will be complete; try a weapon that covers the shortcomings of your other weapons so you can handle most situations you’ll come across.
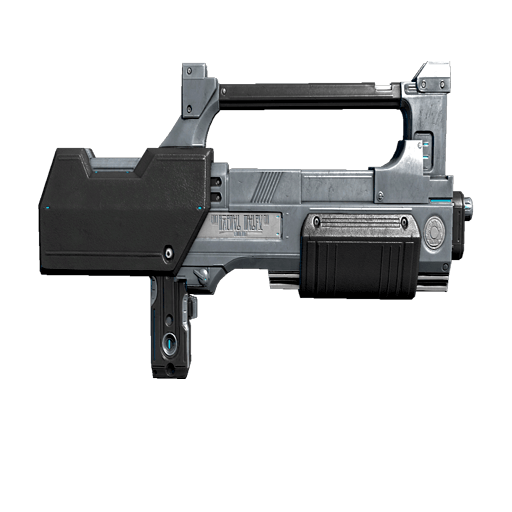
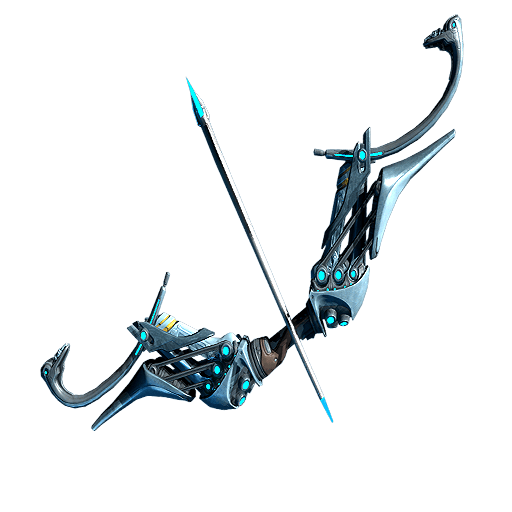
The Braton is a well-rounded assault rifle that fires quickly and is accurate at most ranges.
The Paris isn’t a gun like your other choices, but a bow. Perfect for killing enemies without being heard be sure to hold the fire button to maximize the damage before you shoot.
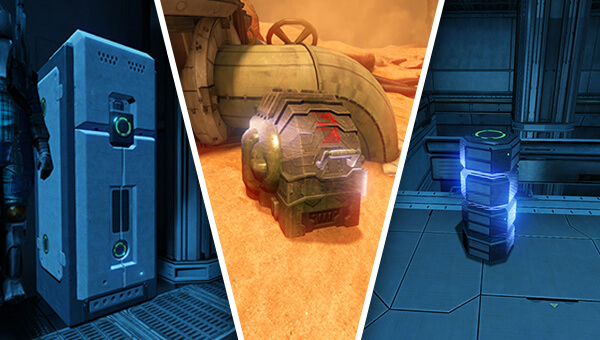
Loot Containers
Lockers and other loot containers will appear in your missions, and contain supplies that will help you in your current mission (such as health and energy pickups for your Warframe, as well as ammo for your weapons). They can also contain items that will be useful between missions, such as Credits to purchase new items, and resources to construct items in your Foundry. Lockers can be opened (Default: X)(Default: O)(Default: B), but other containers will need to be destroyed with your weapons to drop their contents.
Parkour
Warframe's freedom of movement allows you to navigate through Missions in a wide variety of ways. Jump over obstacles, leap over large chasms or run across walls with your innate parkour abilities.
Double Jump - Push jump twice to perform a second jump in mid-air.
Sliding - Pushing the crouch button while sprinting will cause your Warframe to slide, enabling you to slip under low-hanging obstacles that may be impossible to run through.
Bullet Jump - Jump while sliding will activate Bullet Jump, giving you an extra burst of speed forward in any direction you choose.
Aim Glide - Aim while jumping in mid-air to slow your fall, giving some control over your descent while making it easier to shoot enemies
Wall Dash - Hold the jump button along any wall to move up or across the surface. Jumping on a wall resets your Double Jump.
Wall Latch - Aiming while against a wall will enable you to latch onto the surface.
Zipline - Tap the context action button when near a zipline to balance yourself on top of the line.
Advanced Maneuvers
Looking down while performing a melee attack in midair will cause your Warframe to slam the ground with their weapon. Melee weapons can behave differently, but this move will commonly throw nearby enemies to the ground.
Performing a slide while midair will cause your Warframe to kick, which will knock down any weaker enemies you hit.
Enemies that have been knocked to the ground are susceptible to a ground finisher, a special attack that deals bonus damage, similar to the stealth attack.
Blocking (Default: Mouse 2)(Default: R2)(Default: Right Trigger) with your melee weapon equipped (Default: Hold F)(Default: Hold △)(Default: Hold Y) will cause incoming frontal attacks to deal less damage than normal, depending on your equipped weapon. Blocking can still be performed during several maneuvers, such as jumping and sliding, use this to your advantage.
Channeling your melee weapon (Default: Mouse 1)(Default: L2)(Default: Left Trigger) while it’s equipped causes your Warframe’s energy to augment your melee attacks. Hitting an enemy while channeling will deal additional damage, but will drain energy for each successful hit.
Blocking and channeling at the same time can cause enemies to be staggered when they attack you, opening them up for a counterattack that will deal bonus damage.
Hacking
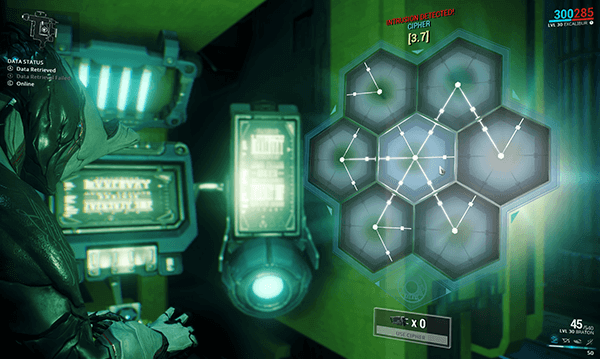
Sometimes hacking will be necessary to continue a mission, such as when doors become inoperable from a security lockdown. Approach a security terminal and press the context action button to begin the hack. While hacking, rotate the hexagon tiles to line up the pattern before time runs out. If a hack isn’t completed in time, you can attempt again, against a different set of tiles.
Ciphers can be acquired that will cause the hack to succeed instantly. These are useful for when a terminal needs to be hacked while enemies are nearby. Select the 'Use Cipher' button to consume one of your ciphers and complete the hack.
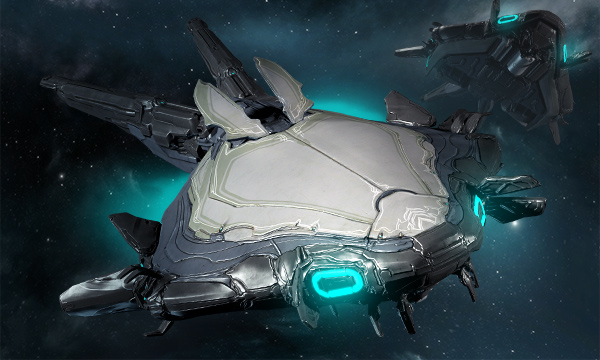
Your Ship, The Liset
Once your first mission is complete, you’ll find yourself aboard your personal ship, which will serve as your base between missions. Initially the Liset will be missing vital segments, but these will become available as you complete tutorial missions.
The Arsenal segment will allow you modify your Loadout as you acquire additional weapons and Warframes. You can also change the appearance of your Warframe and weapons by equipping cosmetics and changing their colour schemes.
As your Weapons and Warframes level up through use, they'll be able to accommodate more powerful mods. Your Warframe's base stats will also increase as they level up.
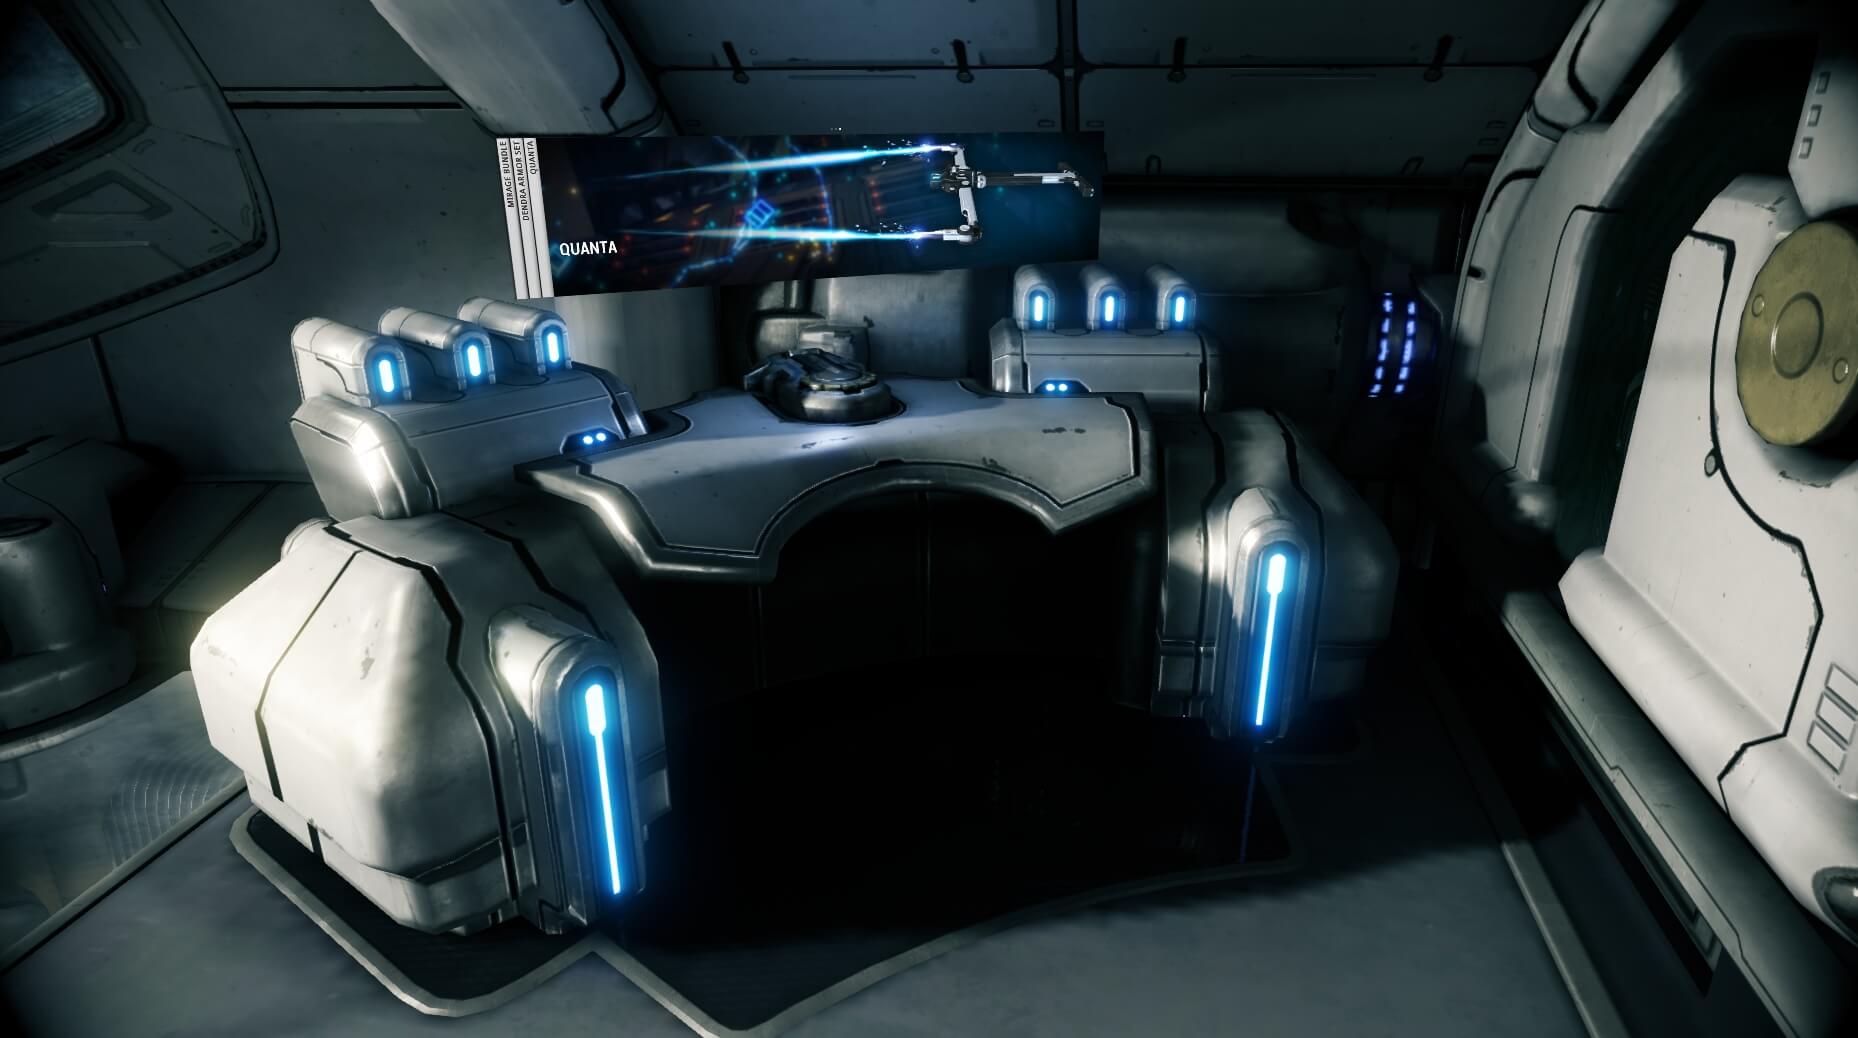
The Market is where you purchase Warframes, weapons, cosmetics, blueprints, consumables, and other items. Blueprints will commonly be available for Credits, while other items may require Platinum instead to purchase them.
Sometimes deals will allow you to acquire items at lower prices, and bundles are available to save on multiple items at once.
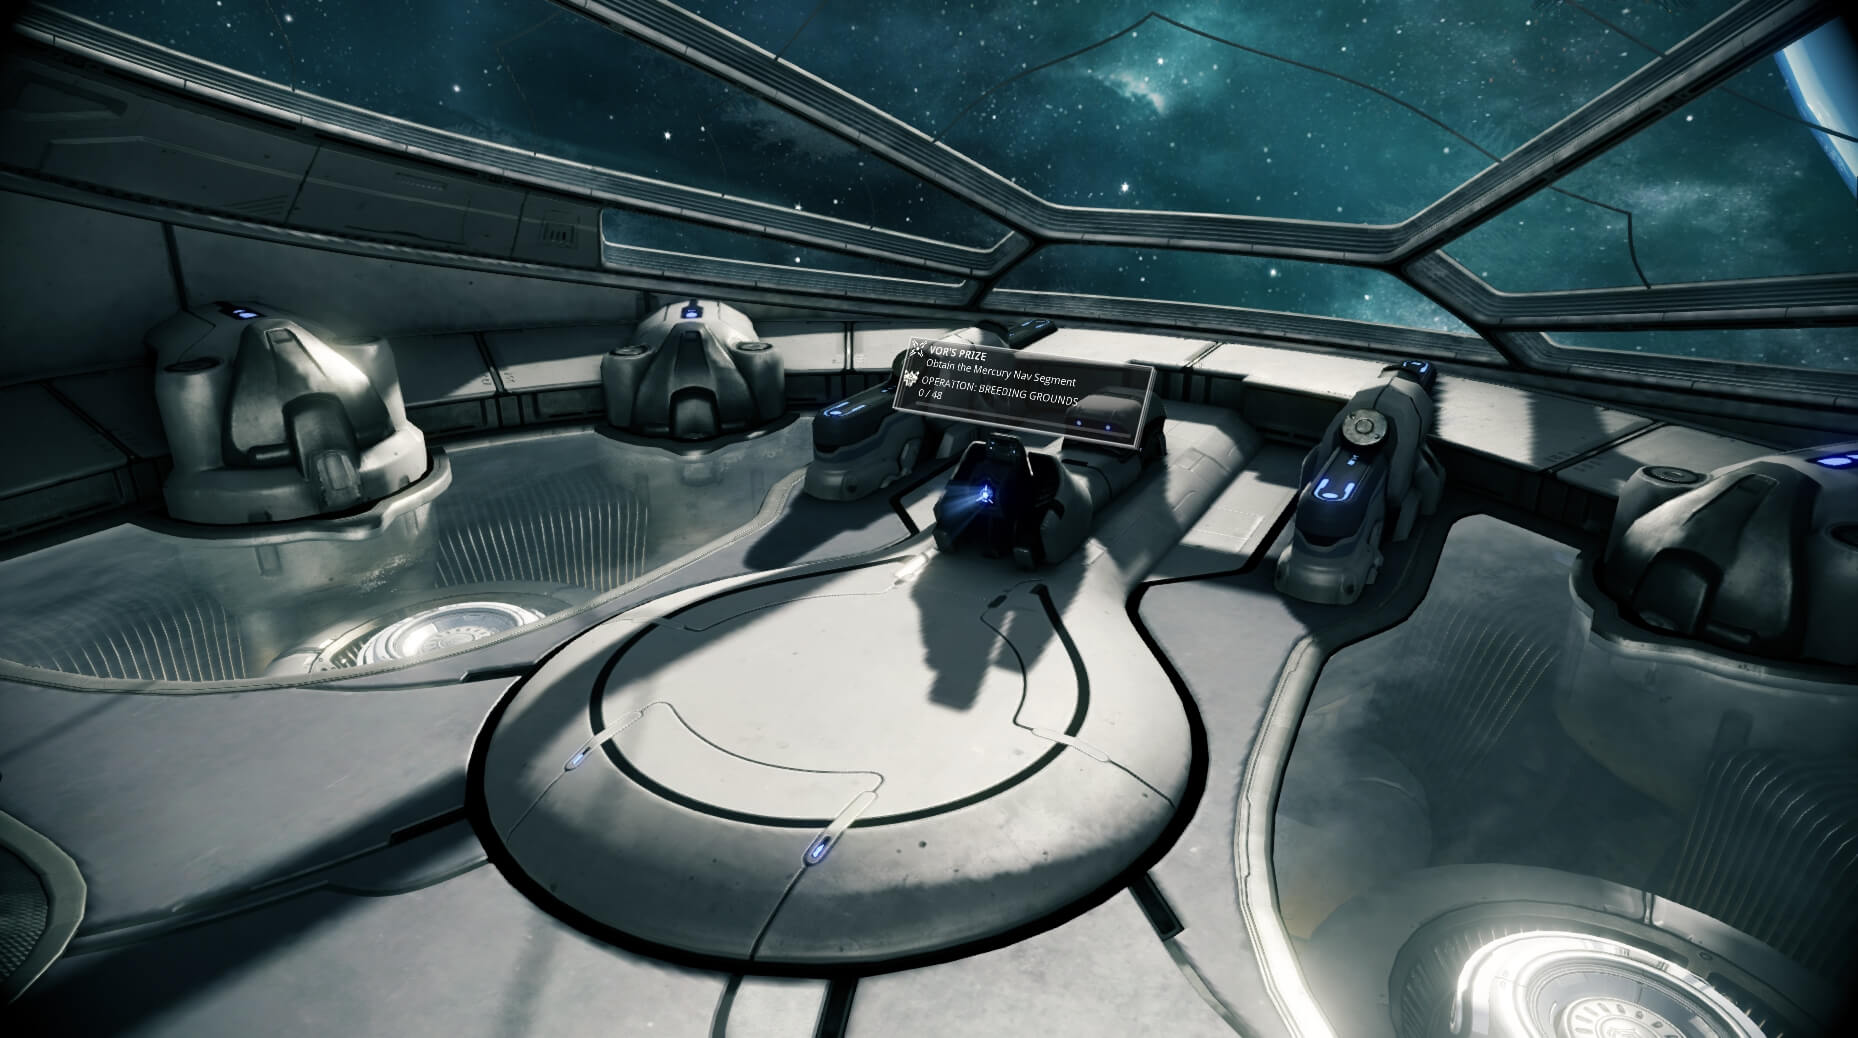
Missions are selected from The Navigation Console. The readouts will tell you the enemy faction present in that mission as well as their average level, to help you decide if you're ready to tackle it. More missions will become available as you complete the ones already unlocked for you.
You can also consult the top-right of the navigation screen to see which Foundry resources will be present at that location.
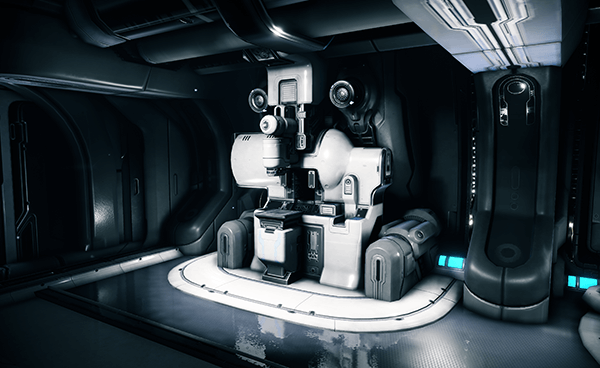
The Mod Station lets you sell unwanted mods, or transform them into new mods. You can even use spare mods to further increase the strength of your most used mods.
The Mod Station lets you sell unwanted mods, or transform them into new mods. You can even use spare mods to further increase the strength of your most used mods.
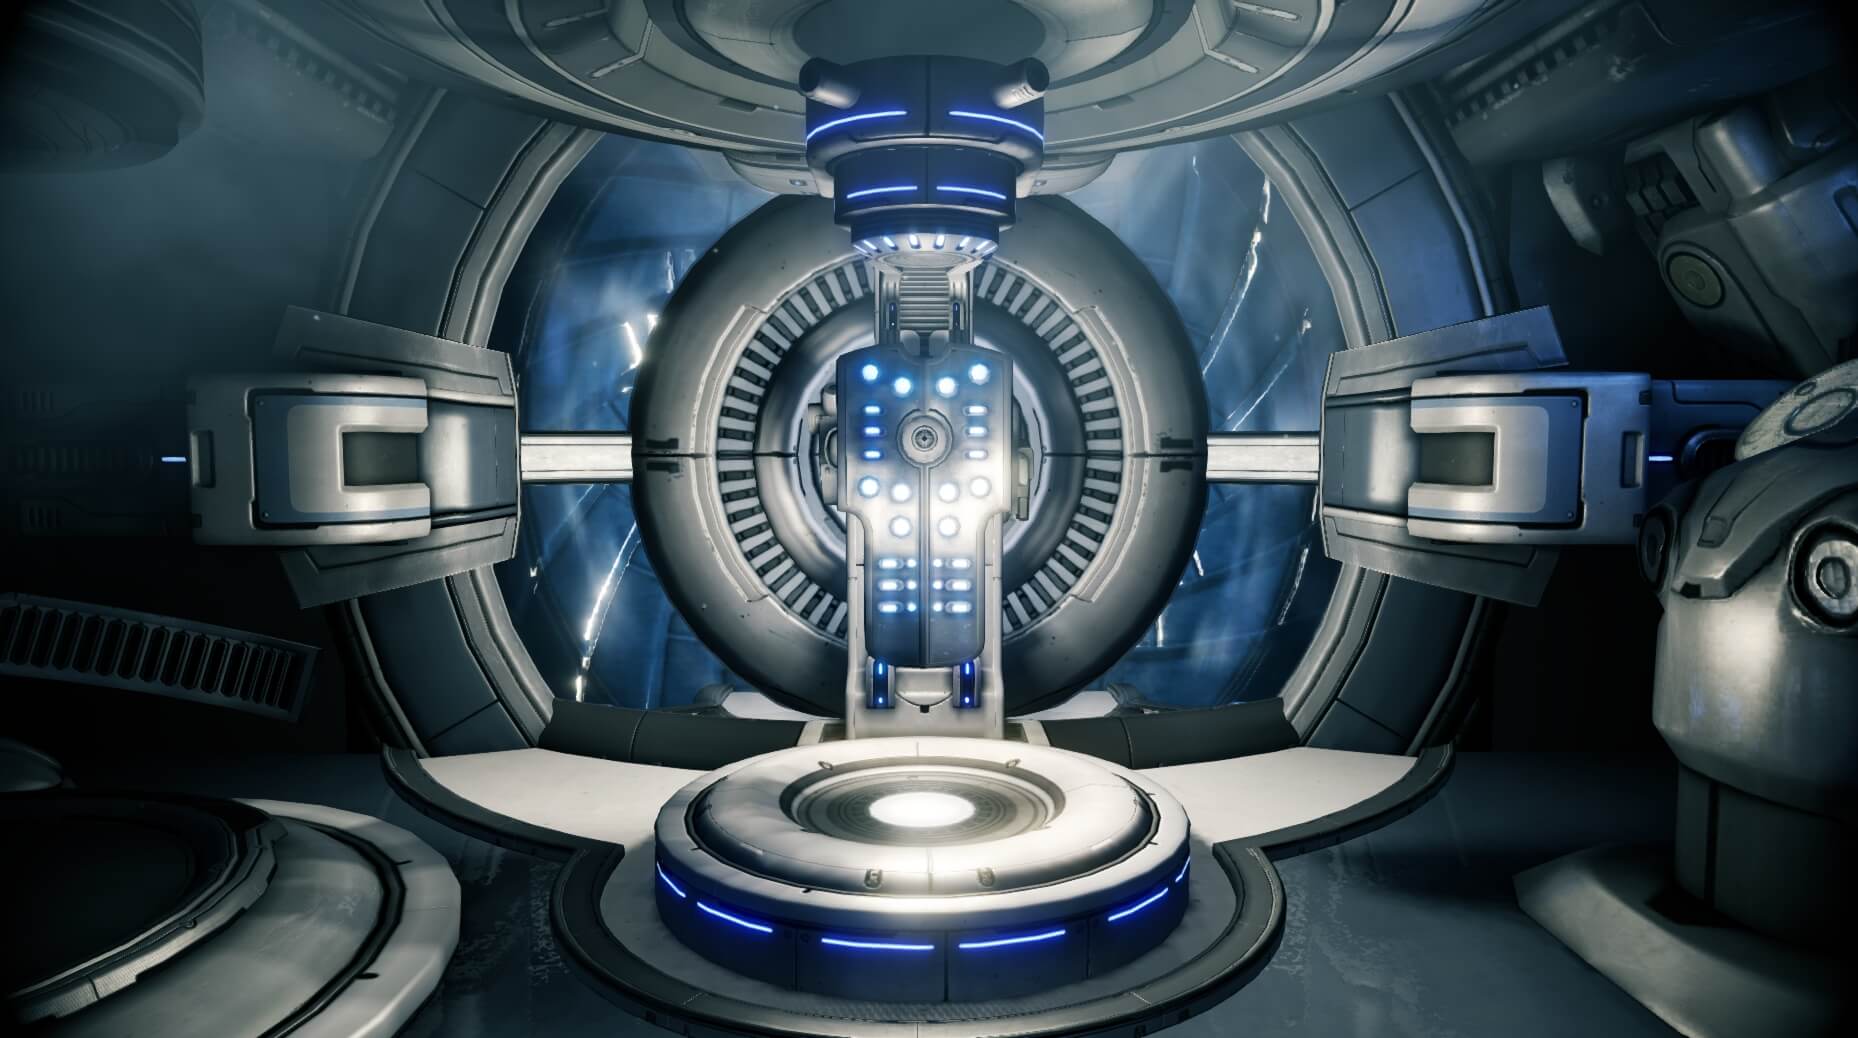
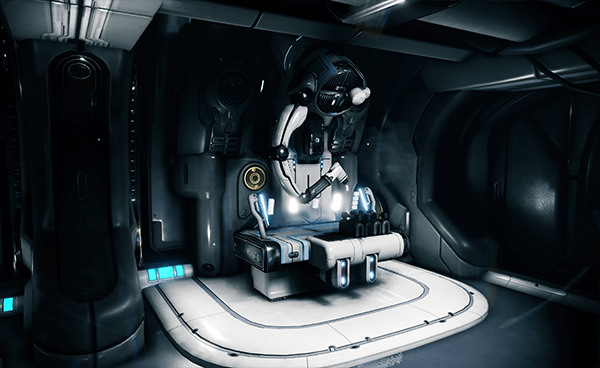
The Foundry allows you to construct items from the blueprints you've acquired. Once you’ve collected the component resources, you can begin construction, although there is a build time before the item is available to use.
Some blueprints will create multiples of the same item simultaneously; this can be useful when building consumable items you use commonly during missions.
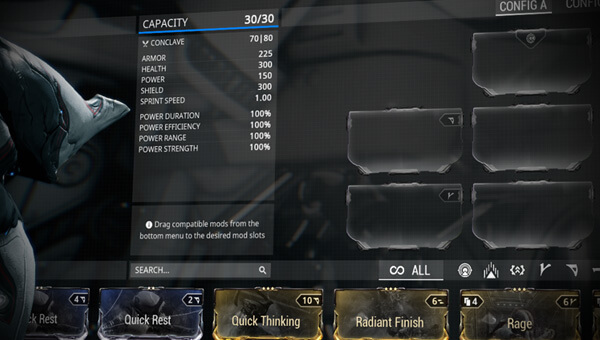
Modding
While playing Warframe you'll pick up many valuable resources to help even the odds against more difficult enemies. Mods play a large role in giving weapons and Warframes an added boost of power and customization, and how effective you are in combat will largely depend on what Mods you equip.
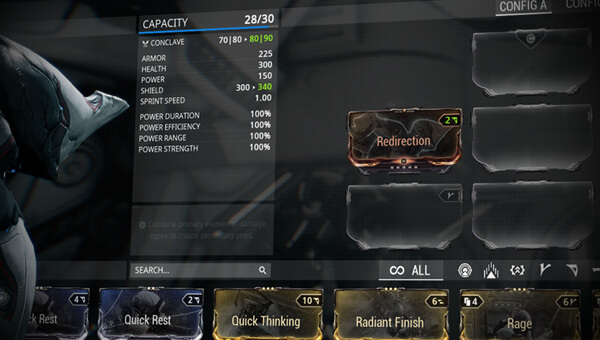
Each Mod equipped will take away from your Upgrade Capacity -- a limit that will naturally increase as your Weapon and Warframe increase in levels.
Mod Polarity - Every Mod has a unique Polarity that's displayed in the upper right hand corner. Matching this Polarity in a Weapon or Warframe slot will reduce the Capacity of the Mod by half, but equipping a Mod using an unmatched Polarity will double its cost.
Aura Mods - These Mods can only be equipped in a Warframe, and give you a passive effect that benefits your entire Squad. Matching an aura's Polarity also increases your Warframe's total Capacity.
Stance Mods - These Mods can only be equipped on a Melee weapon, and give unique combo attacks when equipping that weapon in combat. Stance Mods also increase the weapons total Capacity if equipped on a matching Polarity.
Forma - Forma Blueprints can be obtained from Missions as a reward, and are used to change the Polarity of any slot on a weapon or Warframe. Be careful, as using a Forma will also reset your weapon or Warframe level back to Unranked.
Changing Mission Status
By default, your mission status will be Public, which means other players will be able to join your missions to assist you, and you can also drop into other people's missions and help them out. You can change your mission status by selecting the 'Matchmaking' dropdown in the menu, or when using the Navigation map. Setting it to Friends Only will allow only individuals on your friends list to join, setting it to Invite Only will only allow players you invite to join your match, and Solo will prohibit all players from joining your match. We suggest playing online to meet new friends and play off of your squad’s other powers!
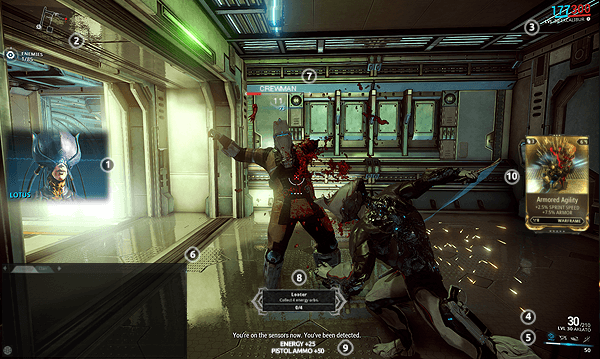
Mission Interface
1: The Lotus will contact you periodically throughout your mission. Listen to her; it could save your life!
2: The Minimap will help you navigate the locales your missions take place in. Follow the red objective symbol- it will lead you to your mission objective. Teammates will appear as a blue lotus symbol on the map. Remember, sticking together will give you the best experience!
3: Your Warframe Readout will display the vital information needed to stay alive. Your Shields, displayed as the large blue number, will regenerate over time. Once your shields are gone, you'll lose health, which is shown as the large red number. The current rank of the Warframe is indicated by the number next to the Warframe name. The current level of experience is represented by the white bar, the bar is filled the closer the Warframe is to being ranked up.
4: The Weapon Readout shows the important information about your equipped weapon. Like the Warframe Readout, the current rank of the weapon is indicated by the number next to the weapon name. The current level of experience is represented by the white bar, the bar is filled the closer the weapon is to being ranked up. Watch the maximum ammo count on the right and replenish it with various pickups you'll find during the mission.
5: Your Warframe's Abilities will be displayed here. The currently selected ability will be highlighted blue. Other abilities will be white, or grey if you lack the energy to activate them.
6: Use the Chat Box to communicate with the other players in the mission and to keep track of who has connected or disconnected.
7: If your targeting reticule is pointed at an enemy, you can see their Health and Description. If an enemy's health is blue, they possess a regenerating shield like your Warframe!
8: Challenges will appear during your missions. If you manage to complete the challenge, you will earn bonus affinity for your Warframe!
9: Credits, Foundry materials, Mods and Affinity drops picked up during a Mission are displayed here.
10: Occasionally you may find Mods in your missions that you can use to upgrade your Warframe and Weapons. When you pick one up, it will appear here, with a description of its effects.
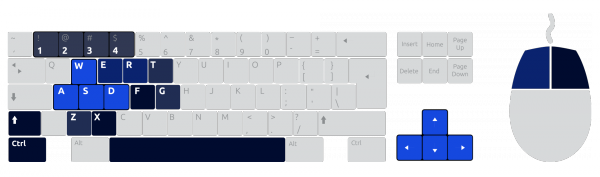
Keyboard Controls
Move: Use W to move forward, S to go backwards, and move side to side using the A and D Keys. Alternatively, you can use the arrow keys.
Sprint: Holding Shift on the keyboard will cause your Warframe to sprint.
Jump: Press Space on the keyboard to jump.
Crouch: Hold CTRL on the keyboard to crouch. Press V to toggle between crouching/standing.
Shoot: You can shoot by left-clicking with the mouse.
Aim: Zoom in and aim with your weapon by right-clicking the mouse.
Marker: You can place a marker for other players to follow by pressing the G key.
Switch Weapon: Switch between your secondary and primary weapons by pressing the F key. Hold it down to equip your melee weapon for advanced moves.
Melee: Use your Melee Weapon by pressing the E key.
Use Ability: You can activate your currently selected ability with MOUSE3. You can also cast a specific ability by pressing either the 1, 2, 3 or 4 key.
Switch Selected Ability: You can activate your currently selected ability with MOUSE3. You can also cast a specific ability by pressing either the 1, 2, 3 or 4 key.
Context Action: When you see the prompt for a context action appear, you can perform it by pressing the X key.
Chat You can call up the chat window during a mission by pressing T.
PC Gamepad Controls
1
Use the left joystick to move your Warframe.
2
You can sprint by holding down the left joystick.
3
The camera is controlled by moving the right joystick.
5
Pressing the A button will cause your Warframe to jump.
6
Pressing the B button will perform a quick melee attack. When in a melee stance B can be used to start melee combos.
7
Pressing the X button will reload your weapon and perform context actions, such as opening storage lockers or reviving players.
8
Press the Y button to switch between your Secondary and Primary weapons. Hold it down to equip your melee weapon.
9
Left/Right on the D-pad will cycle through Warframe Powers. Press Up on the D-pad to create a Waypoint marker. Press Down on the D-pad to cycle through your emote and inventory.
10
Press Left Bumper to crouch when standing still. Pressing when walking will cause you to roll, and holding Left Bumper while running will let you slide.
11
Holding Left Trigger with a Primary or Secondary weapon will aim down sights. Holding Left Trigger with a Melee weapon will activate channeling.
12
Pressing Right Bumper will open the Power Menu.
13
Pressing Right Trigger will fire your current Primary or Secondary weapon, or block attacks when using a melee weapon.
1: Use the left joystick to move your Warframe.
2: You can sprint by holding down the left joystick.
3: The camera is controlled by moving the right joystick.
4: -Unbound-
5: Pressing the A button will cause your Warframe to jump.
6: Pressing the B button will perform a quick melee attack. When in a melee stance B can be used to start melee combos.
7: Pressing the X button will reload your weapon and perform context actions, such as opening storage lockers or reviving players.
8: Press the Y button to switch between your Secondary and Primary weapons. Hold it down to equip your melee weapon.
9: Left/Right on the D-pad will cycle through Warframe Powers. Press Up on the D-pad to create a Waypoint marker. Press Down on the D-pad to cycle through your emote and inventory.
10: Press Left Bumper to crouch when standing still. Pressing when walking will cause you to roll, and holding Left Bumper while running will let you slide.
11: Holding Left Trigger with a Primary or Secondary weapon will aim down sights. Holding Left Trigger with a Melee weapon will activate channeling.
12: Pressing Right Bumper will open the Power Menu.
13: Pressing Right Trigger will fire your current Primary or Secondary weapon, or block attacks when using a melee weapon.
PS4 Gamepad Controls

1
Use the left joystick to move your Warframe.
2
You can toggle sprinting by holding down the left joystick.
3
The camera is controlled by moving the right joystick.
4
Like all other buttons, you can bind an action to R3, but by default it performs no action.
5
Pressing the X button will cause your Warframe to jump.
6
Pressing the O button will perform a quick melee attack. When in a melee stance O can be used to start melee combos.
7
Press the ☐ button to reload your weapon and perform context actions, such as opening storage lockers or reviving players.
8
Pressing the △ button will switch between your Primary and Secondary weapons. Hold down △ to equip your melee weapon.
9
Left on the D-pad will place a marker. Press Down on the D-pad to cycle through your emotes and inventory. Up and Right are Unbound
10
Press L1 to crouch when standing still. Pressing when walking will cause you to roll, and holding L1 while running will let you slide.
11
Holding L2 with a Primary or Secondary weapon will aim down sights. Holding L2 with a Melee weapon will activate channeling.
12
Pressing R1 will open the Power Menu.
13
Pressing R2 will fire your current Primary or Secondary weapon or block attacks when using a melee weapon.
14
The touchpad allows you to use your Warframe's abilities. Swipe Up to cast your first ability, Down for your second, Left for your third, and Right for your ultimate ability.
1: Use the left joystick to move your Warframe.
2: You can toggle sprinting by holding down the left joystick.
3: The camera is controlled by moving the right joystick.
4: Like all other buttons, you can bind an action to R3, but by default it performs no action.
5: Pressing the X button will cause your Warframe to jump.
6: Pressing the O button will perform a quick melee attack. When in a melee stance O can be used to start melee combos.
7: Press the ☐ button to reload your weapon and perform context actions, such as opening storage lockers or reviving players.
8: Pressing the △ button will switch between your Primary and Secondary weapons. Hold down △ to equip your melee weapon.
9: Left on the D-pad will place a marker. Press Down on the D-pad to cycle through your emotes and inventory. Up and Right are Unbound
10: Press L1 to crouch when standing still. Pressing when walking will cause you to roll, and holding L1 while running will let you slide.
11: Holding L2 with a Primary or Secondary weapon will aim down sights. Holding L2 with a Melee weapon will activate channeling.
12: Pressing R1 will open the Power Menu.
13: Pressing R2 will fire your current Primary or Secondary weapon or block attacks when using a melee weapon.
14: The touchpad allows you to use your Warframe's abilities. Swipe Up to cast your first ability, Down for your second, Left for your third, and Right for your ultimate ability.
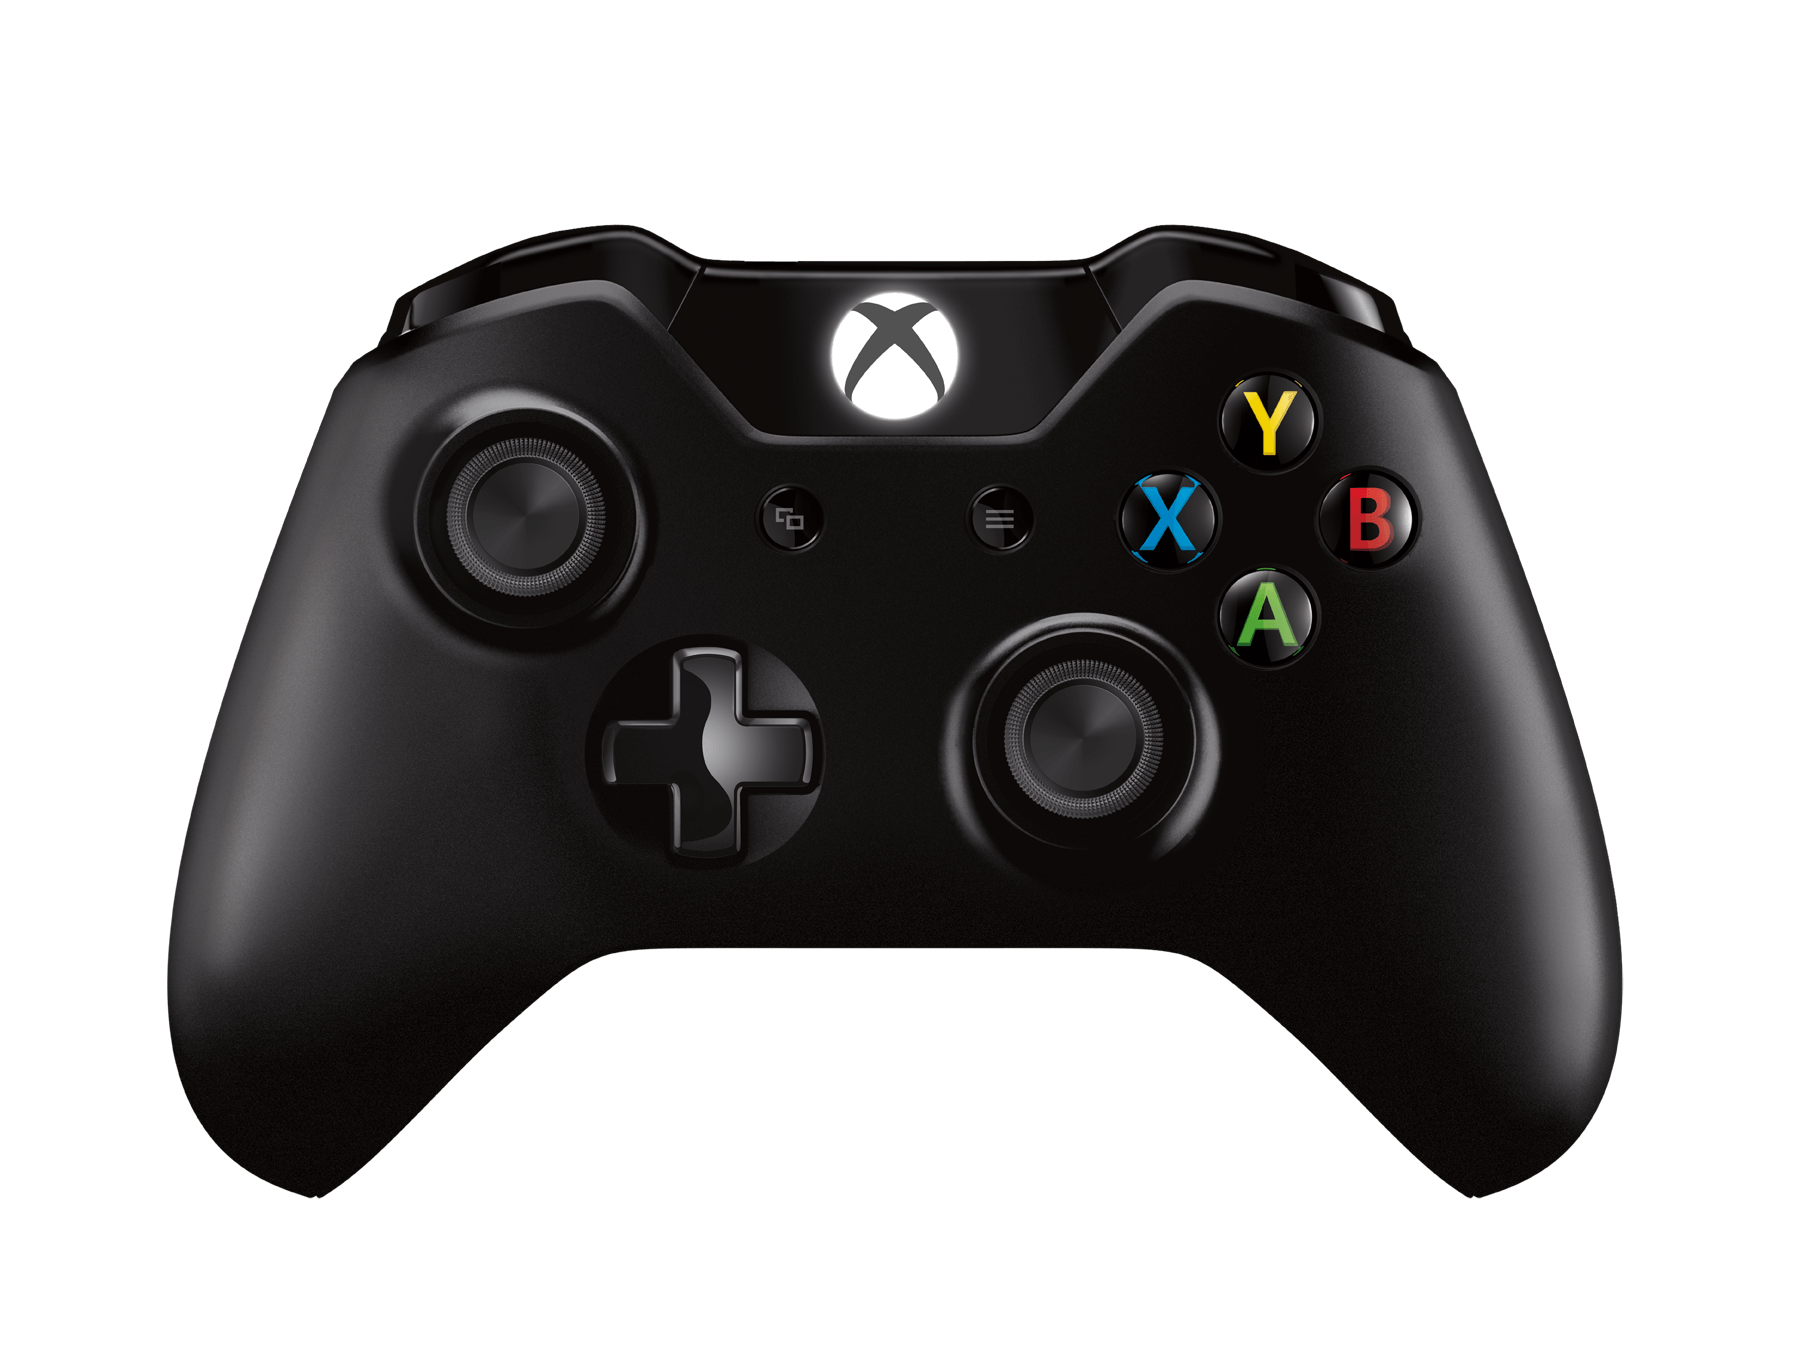
XB1 Gamepad Controls
1
Use the left joystick to move your Warframe.
2
You can sprint by holding down the left joystick.
3
The camera is controlled by moving the right joystick.
5
Pressing the A button will cause your Warframe to jump.
6
Pressing the B button will perform a quick melee attack. When in a melee stance B can be used to start melee combos.
7
Pressing the X button will reload your weapon and perform context actions, such as opening storage lockers or reviving players.
8
Press the Y button to switch between your Secondary and Primary weapons. Hold it down to equip your melee weapon.
9
Left/Right on the D-pad will cycle through Warframe Powers. Press Up on the D-pad to create a Waypoint marker. Press Down on the D-pad to cycle through your emote and inventory.
10
Press Left Bumper to crouch when standing still. Pressing when walking will cause you to roll, and holding Left Bumper while running will let you slide.
11
Holding Left Trigger with a Primary or Secondary weapon will aim down sights. Holding Left Trigger with a Melee weapon will activate channeling.
12
Pressing Right Bumper will open the Power Menu.
13
Pressing Right Trigger will fire your current Primary or Secondary weapon, or block attacks when using a melee weapon.
1: Use the left joystick to move your Warframe.
2: You can sprint by holding down the left joystick.
3: The camera is controlled by moving the right joystick.
4: -Unbound-
5: Pressing the A button will cause your Warframe to jump.
6: Pressing the B button will perform a quick melee attack. When in a melee stance B can be used to start melee combos.
7: Pressing the X button will reload your weapon and perform context actions, such as opening storage lockers or reviving players.
8: Press the Y button to switch between your Secondary and Primary weapons. Hold it down to equip your melee weapon.
9: Left/Right on the D-pad will cycle through Warframe Powers. Press Up on the D-pad to create a Waypoint marker. Press Down on the D-pad to cycle through your emote and inventory.
10: Press Left Bumper to crouch when standing still. Pressing when walking will cause you to roll, and holding Left Bumper while running will let you slide.
11: Holding Left Trigger with a Primary or Secondary weapon will aim down sights. Holding Left Trigger with a Melee weapon will activate channeling.
12: Pressing Right Bumper will open the Power Menu.
13: Pressing Right Trigger will fire your current Primary or Secondary weapon, or block attacks when using a melee weapon.
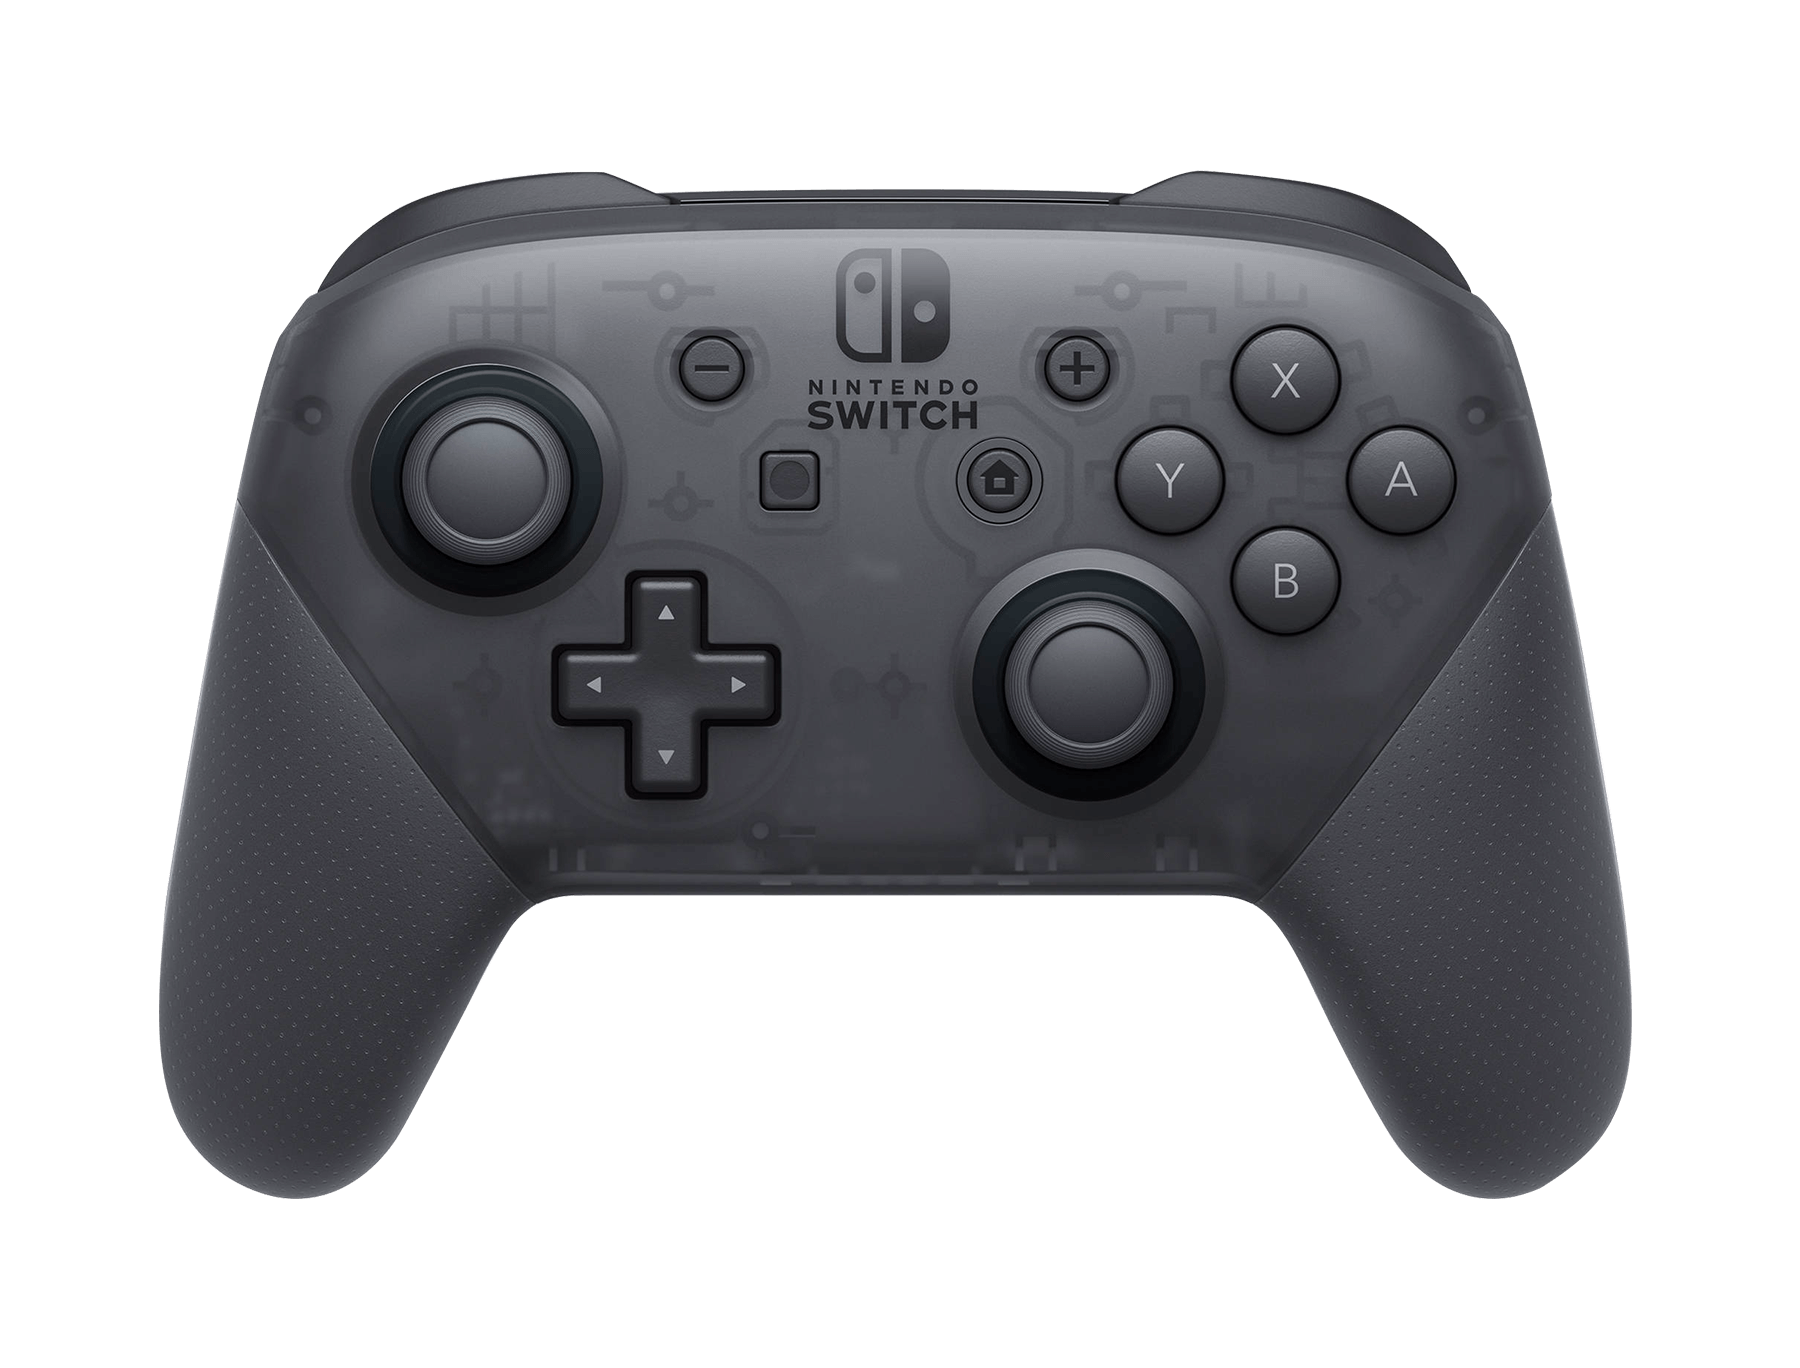
Nintendo Switch Gamepad Controls
1
Use the left joystick to move your Warframe.
2
You can sprint by holding down the left joystick.
3
The camera is controlled by moving the right joystick.
5
Pressing the B button will cause your Warframe to jump.
6
Pressing the A button will perform a quick melee attack. When in a melee stance A can be used to start melee combos.
7
Pressing the Y button will reload your weapon and perform context actions, such as opening storage lockers or reviving players.
8
Press the X button to switch between your Secondary and Primary weapons. Hold it down to equip your melee weapon.
9
Left/Right on the D-pad will cycle through Warframe Powers. Press Up on the D-pad to create a Waypoint marker. Press Down on the D-pad to cycle through your emote and inventory.
10
Press L to crouch when standing still. Pressing when walking will cause you to roll, and holding Left Bumper while running will let you slide.
11
Holding ZL with a Primary or Secondary weapon will aim down sights. Holding Left Trigger with a Melee weapon will activate channeling.
12
Pressing R will open the Power Menu.
13
Pressing ZR will fire your current Primary or Secondary weapon, or block attacks when using a melee weapon.
1: Use the left joystick to move your Warframe.
2: You can sprint by holding down the left joystick.
3: The camera is controlled by moving the right joystick.
4: -Unbound-
5: Pressing the B button will cause your Warframe to jump.
6: Pressing the A button will perform a quick melee attack. When in a melee stance A can be used to start melee combos.
7: Pressing the Y button will reload your weapon and perform context actions, such as opening storage lockers or reviving players.
8: Press the X button to switch between your Secondary and Primary weapons. Hold it down to equip your melee weapon.
9: Left/Right on the D-pad will cycle through Warframe Powers. Press Up on the D-pad to create a Waypoint marker. Press Down on the D-pad to cycle through your emote and inventory.
10: Press L to crouch when standing still. Pressing when walking will cause you to roll, and holding Left Bumper while running will let you slide.
11: Holding ZL with a Primary or Secondary weapon will aim down sights. Holding Left Trigger with a Melee weapon will activate channeling.
12: Pressing R will open the Power Menu.
13: Pressing ZR will fire your current Primary or Secondary weapon, or block attacks when using a melee weapon.
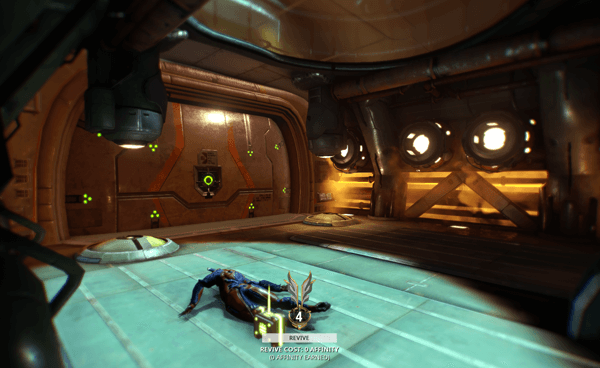
Falling in Battle
If your health is reduced to zero, you will become injured and fall to the ground. While injured, you won't be able to use any of your abilities and your primary and melee weapon will be unavailable, but you can still attack enemies with your secondary weapon. If your teammates can't reach you before time runs out, you will become incapacitated.
If you teammates fall in battle their Lotus icon will be replaced by a red diamond icon in your mini map, and their name will be viewable through obstacles in red, which will aid you in their rescue! When incapacitated, you can no longer participate in the mission until you’ve been revived (although you can spectate and chat with your teammates still) and if your bleed-out timer reaches zero your Warframe will be unable to continue the mission. Luckily, all Warframes possess the amazing ability to revive themselves in the midst of a mission; you can use this ability to return to the fight and help your friends!
If you choose not to revive in a mission, your Warframe is not destroyed and will still survive to play other missions. Learning when to use revives and when it’s worth simply forfeiting a mission is all part of playing Warframe! Keep in mind you get 4 Revives per mission, but these are immediately restocked when you return to your personal Ship!
With the completion of the Vor's Prize story arc, your journey in Warframe is just beginning. If you find you need further assistance, don’t be afraid to ask your fellow players for help and post on the forums!