Cosmetic Setup Step By Step
Step by Step Setup
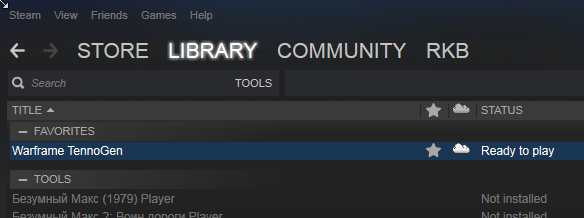
- Launch Steam
- Select Library > Tools > Warframe Tennogen
- Launch Warframe Tennogen
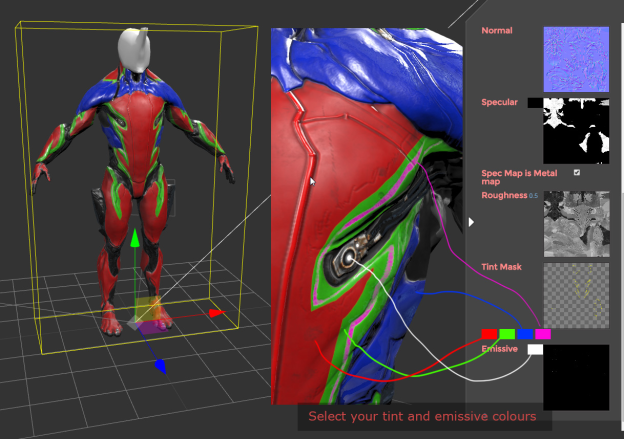
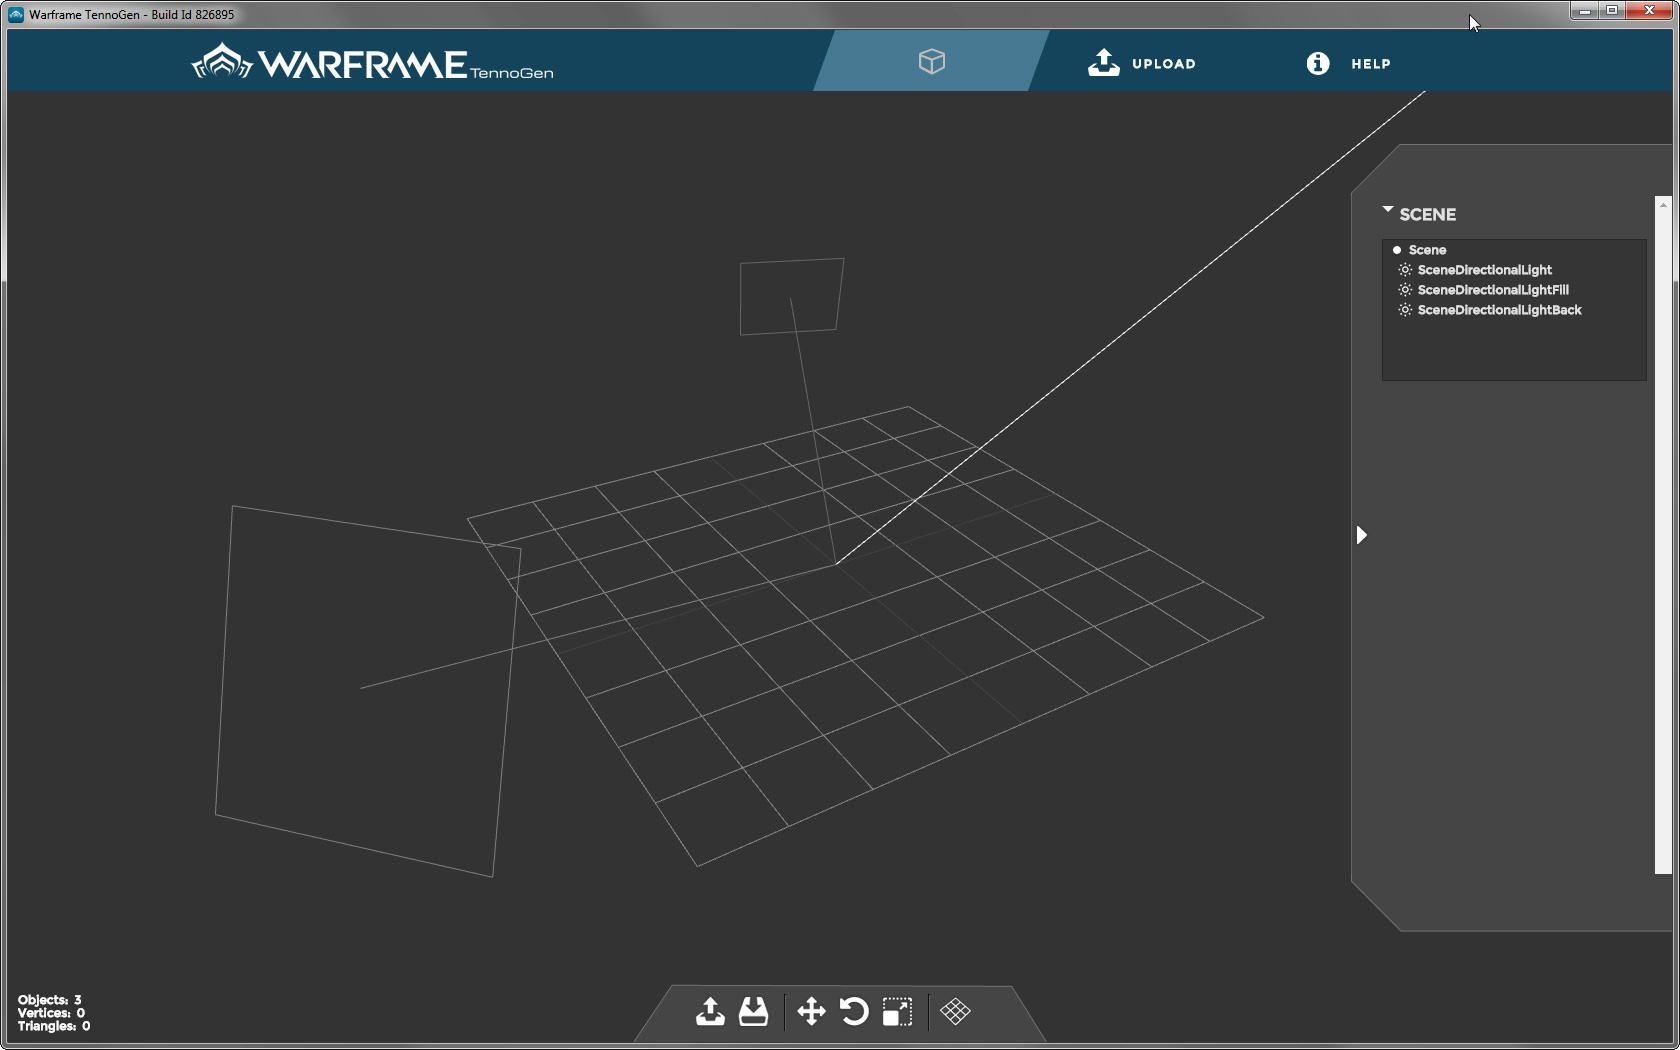
- At this point you should have the default viewer tab visible:
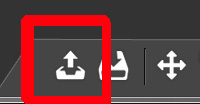
- Either drag your OBJ or use the open button in the bottom left:
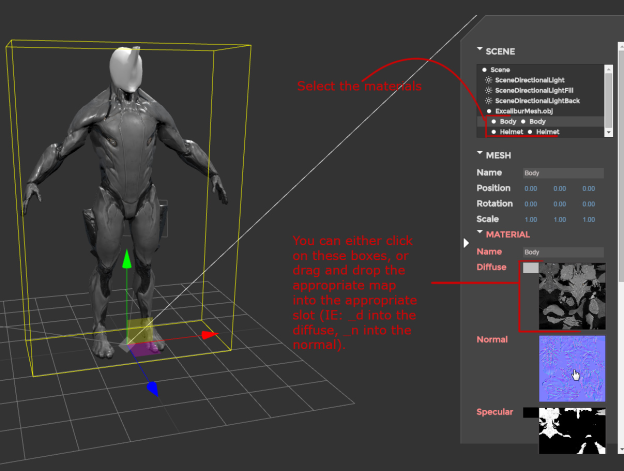
- Select the materials
- You can either click on these boxes, or drag and drop the appropriate map into the appropriate slot (IE: _d into the diffuse, _n into the normal).
- Select your tint and emissive colours
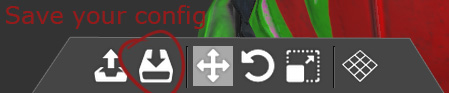
- Save the configuration to send to Steam
- Hide the grid
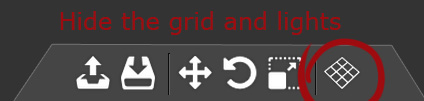 using that button, or by pressing G. If you would like to hide the entire UI you can press H. Press the hotkeys a second time to bring the UI / Grid back.
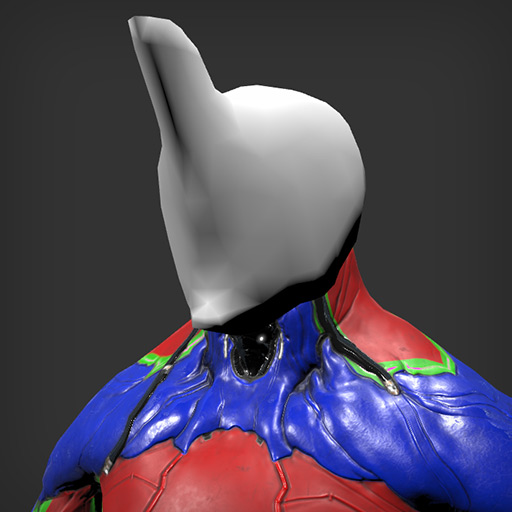
 - Take your screenshots
- Keeping the composition of your thumbnail image particularly in mind
- Go to the Uploader tab
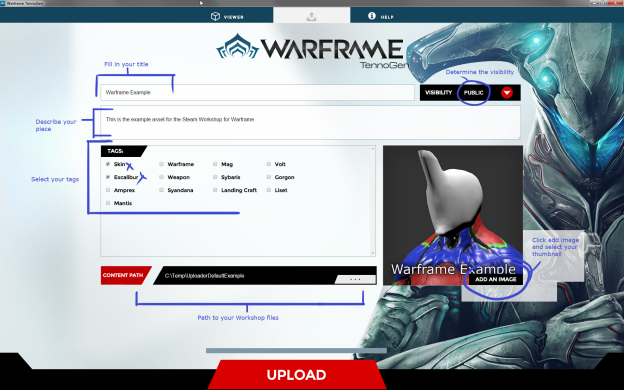
- Fill in your title
- Determine the Visibility (if it is private, friends only or public)
- Describe your asset
- Set your Tags
- Insert your preview image
- Determine the Content Path
-
Your content path needs the .zip file that you generated with the Viewer tab and all the files associated with your asset (PNGs, if applicable the FBX, etc).
-
- Hit upload!